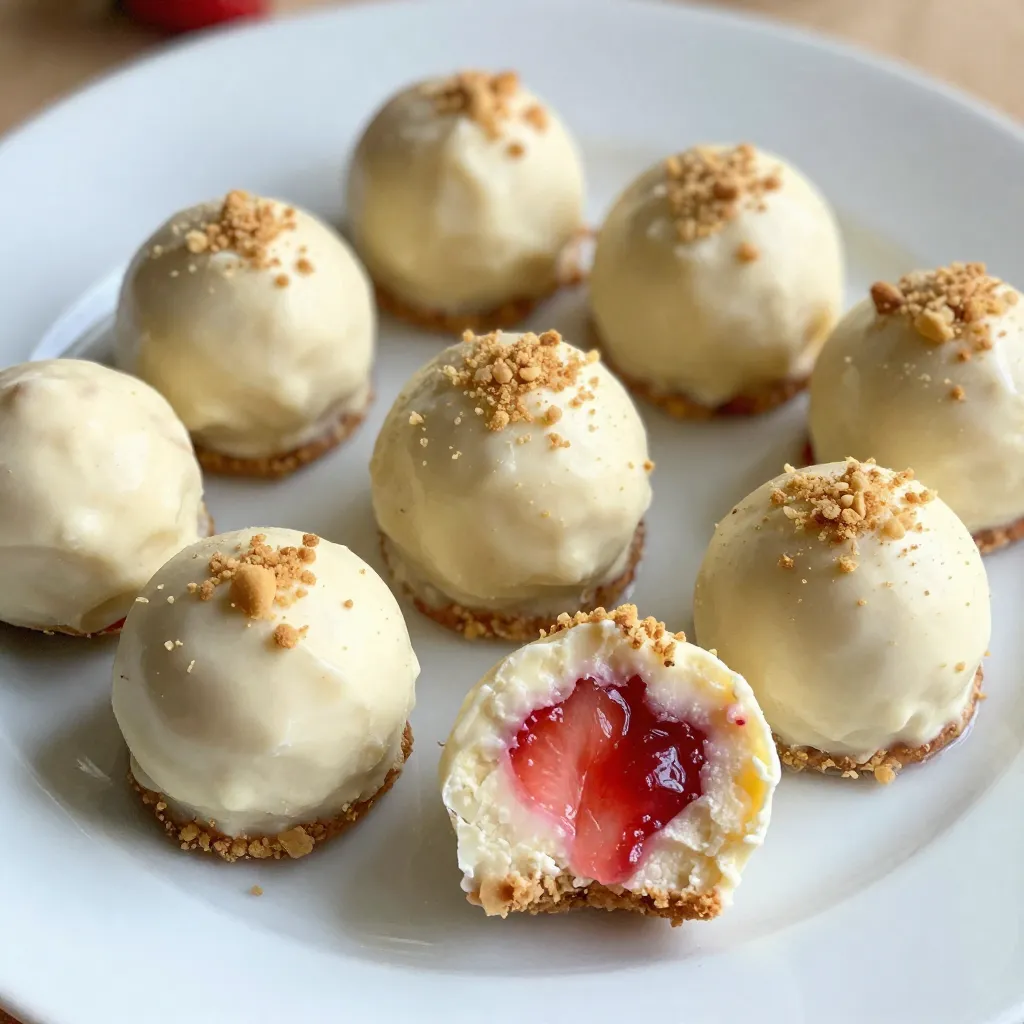
Do you love sweet treats? Strawberry Cheesecake Truffles are the perfect bite-sized dessert! These tasty delights mix fresh strawberries with creamy cheesecake for a mouthwatering treat. Whether you’re prepping for a party or just want a snack, these truffles are easy to make. Join me as I walk you through the simple steps to whip up this delightful recipe! You won’t want to miss it!
Why I Love This Recipe
- Deliciously Fruity: The combination of fresh strawberries and creamy cheesecake creates a burst of flavor that’s irresistible.
- Easy to Make: This recipe requires minimal ingredients and steps, making it perfect for both novice and experienced bakers.
- Perfect for Any Occasion: Whether it’s a party, a holiday, or just a sweet treat for yourself, these truffles are sure to impress.
- Gorgeous Presentation: The white chocolate coating and graham cracker garnish make these truffles a beautiful addition to any dessert table.
Ingredients
List of Ingredients
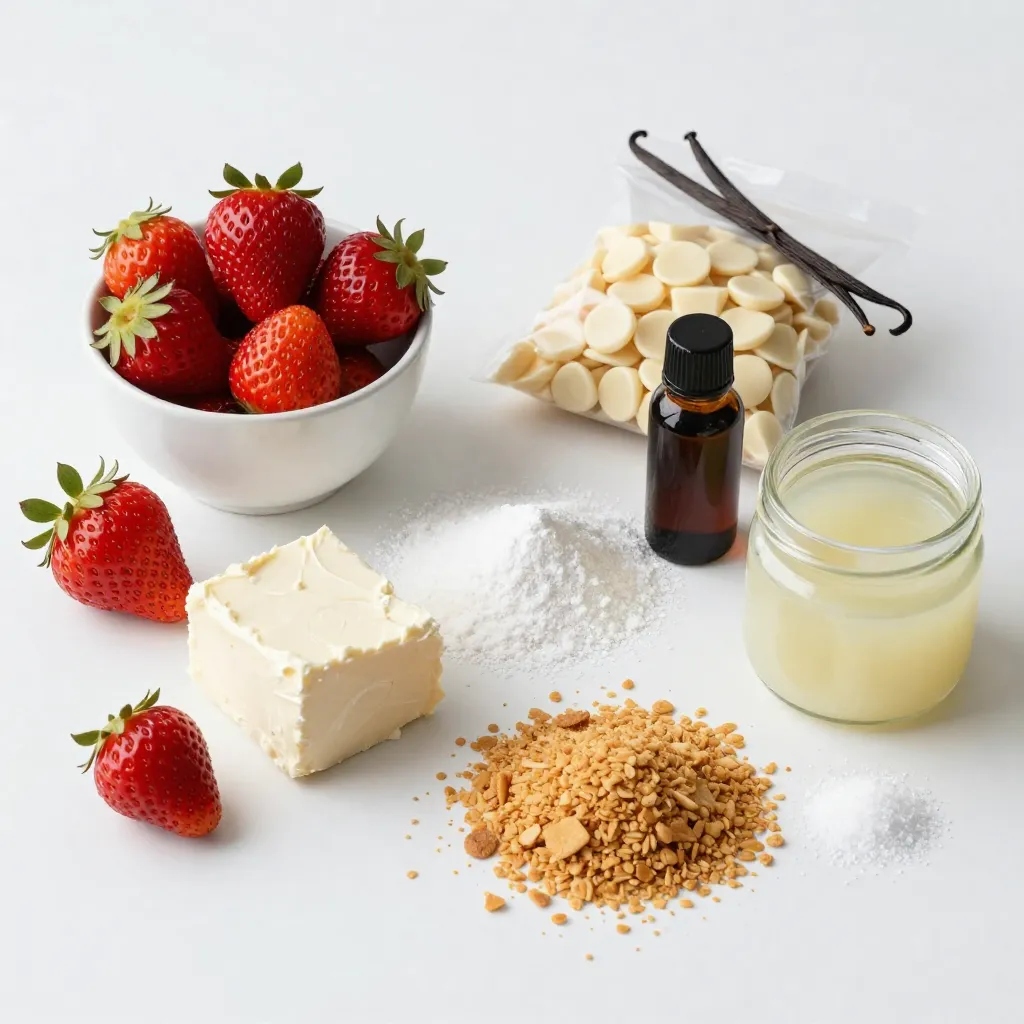
– 1 cup fresh strawberries, hulled and pureed
– 8 oz cream cheese, softened to room temperature
– 1/4 cup powdered sugar
– 1 teaspoon pure vanilla extract
– 1 cup graham cracker crumbs, plus extra for garnish
– 1 cup white chocolate chips
– 1 tablespoon coconut oil
– Pinch of sea salt
Suggested Equipment
– Mixing bowl
– Electric mixer
– Cookie scoop
– Parchment paper
– Baking sheet
– Microwave-safe bowl
To make these strawberry cheesecake truffles, you need simple ingredients. Fresh strawberries bring a bright flavor. The cream cheese adds a rich, smooth base. Powdered sugar sweetens the mix perfectly. Vanilla extract gives a lovely aroma. Graham cracker crumbs create a nice texture and taste.
You will need some equipment too. A mixing bowl helps you combine the ingredients well. An electric mixer makes beating easy. A cookie scoop helps with shaping the truffles. Parchment paper keeps them from sticking. A baking sheet is useful for chilling the truffles. Finally, a microwave-safe bowl is needed for melting the white chocolate.
Gather everything before you start. This will make the process smooth and fun!
Step-by-Step Instructions
Preparing the Cream Cheese Mixture
Start with eight ounces of softened cream cheese in a mixing bowl. Add a quarter cup of powdered sugar and one teaspoon of pure vanilla extract. Beat these ingredients using an electric mixer on medium speed. Mix for about two to three minutes until smooth and creamy. Next, take one cup of fresh strawberry puree and fold it gently into the cream cheese mixture. Be careful not to deflate the mixture; you want it light and fluffy.
Incorporating Dry Ingredients
Now, add one cup of graham cracker crumbs to the bowl. Don’t forget a pinch of sea salt for balance. Mix gently until everything combines. The mixture should feel thick enough to hold its shape. This texture is key for rolling the truffles later.
Shaping and Chilling
Use a small cookie scoop or your hands to portion out the mixture. Roll each portion into balls about one inch in diameter. Place these truffles on a baking sheet lined with parchment paper. Cover the bowl tightly and refrigerate for about 30 minutes. This step helps firm up the mixture, making it easier to shape.
Melting the Chocolate
In a microwave-safe bowl, combine one cup of white chocolate chips and one tablespoon of coconut oil. Heat the mixture in 30-second intervals, stirring in between. Be careful not to overheat it, or the chocolate might burn. You want it completely melted and smooth before moving on.
Coating the Truffles
Once the truffles are firm, take them out of the freezer. Using a fork, dip each truffle into the melted white chocolate. Shake off any excess chocolate and place them back on the parchment-lined sheet. For a fun touch, sprinkle a few extra graham cracker crumbs on top before the chocolate sets.
Final Chilling
Finally, return your coated truffles to the refrigerator for about 15 minutes. This extra chilling time helps the white chocolate harden completely, making each bite a delightful treat.
Tips & Tricks
Achieving Perfect Texture
To make your truffles the best they can be, chilling is key. After mixing, cover the bowl and chill it for about 30 minutes. This helps the mixture firm up, making it easier to roll into balls. Overmixing can ruin the texture, so mix gently. You want a thick mix that holds its shape well.
Melting Chocolate Successfully
Melting chocolate can be tricky. To prevent burning, heat it in small bursts. Use 30-second intervals in the microwave and stir in between. If you don’t have white chocolate, you can try using dark chocolate or milk chocolate. Both will give a different taste but still taste great.
Presentation Suggestions
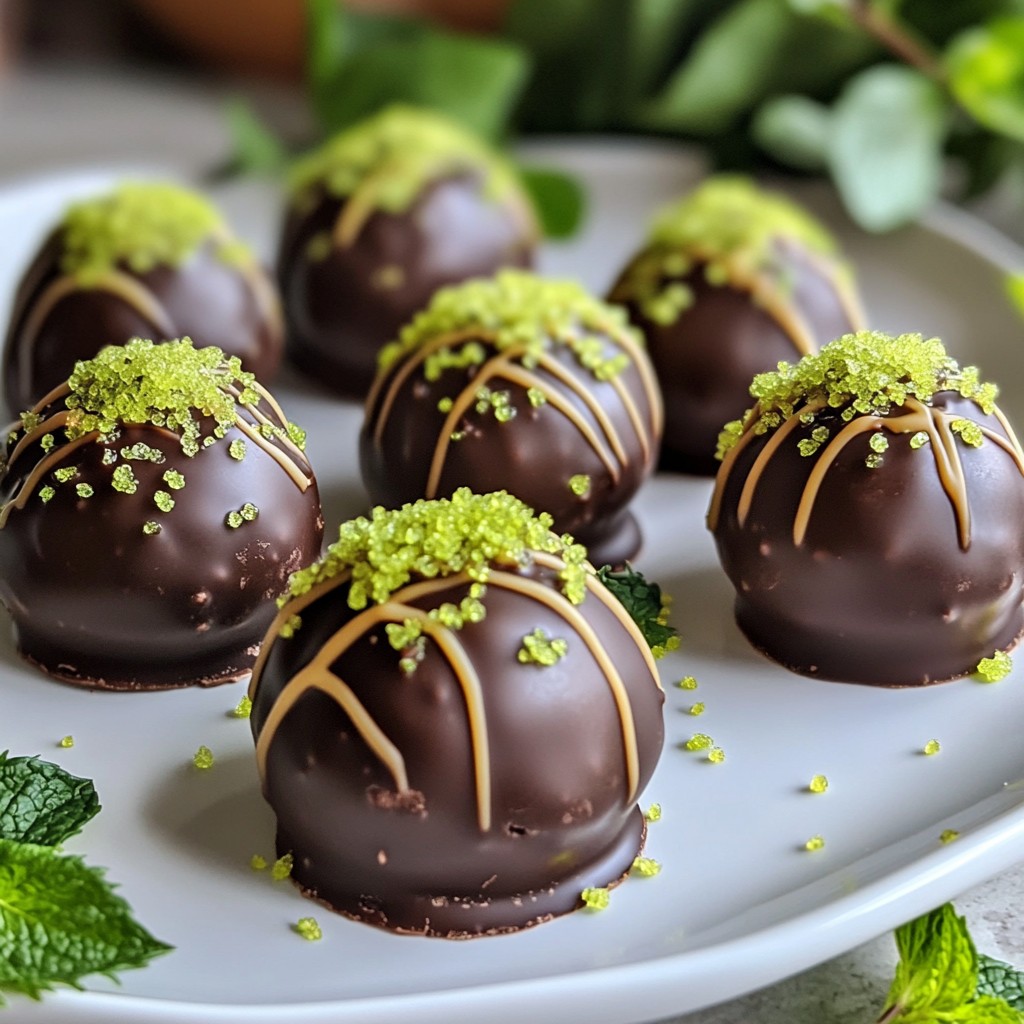
For serving, arrange your truffles in a decorative box or on a pretty tiered stand. This makes them look extra special. Garnish the truffles with fresh strawberries or mint sprigs for a pop of color. This not only looks nice but also adds freshness to your sweet treat.
Pro Tips
- Use Fresh Strawberries: For the best flavor, opt for ripe, fresh strawberries. This will enhance the sweetness and overall taste of your truffles.
- Chill Before Coating: Ensure your truffles are adequately chilled before dipping them in chocolate. This helps maintain their shape and prevents them from becoming too soft.
- Customize Chocolate: Feel free to experiment with different types of chocolate for coating. Milk chocolate or dark chocolate can add a unique twist to the flavor profile.
- Presentation Matters: Elevate your truffles by presenting them on a decorative platter or in small cupcake liners. Adding garnishes like fresh mint or extra graham crumbs can make a beautiful display.
Variations
Flavor Alternatives
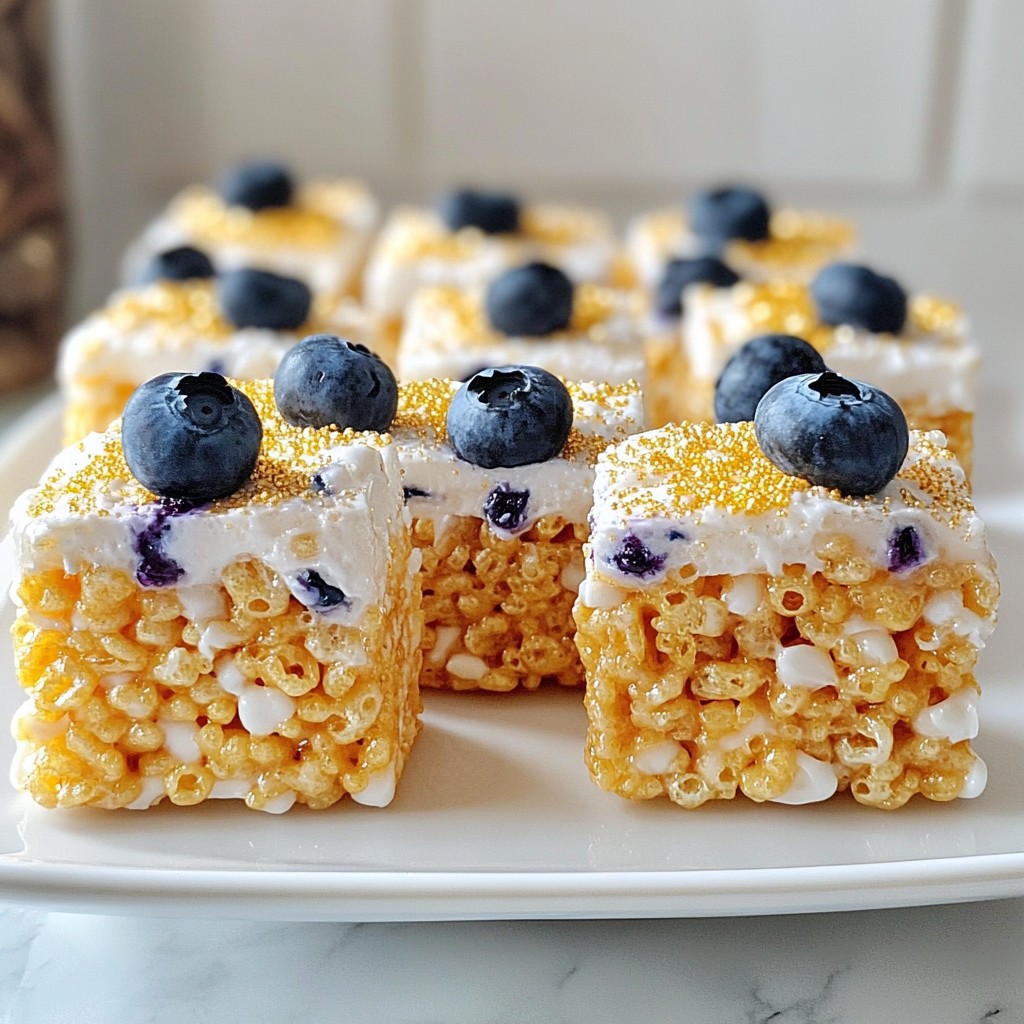
You can make these truffles even more fun by changing the fruit. Raspberries or blueberries work well. They both add a sweet and tart taste. You can also use flavored cream cheese. Try strawberry, vanilla, or even lemon. This will give your truffles a unique twist. Each fruit brings its own flavor and color, making them special.
Coating Options
While white chocolate is classic, you can switch it up. Dark chocolate offers a rich taste, while milk chocolate is sweeter. These choices change the flavor and look of your truffles. For festive occasions, consider using colored chocolate. You can find bright pinks or blues to match any theme. This makes the truffles look even more inviting.
Adding Enhancements
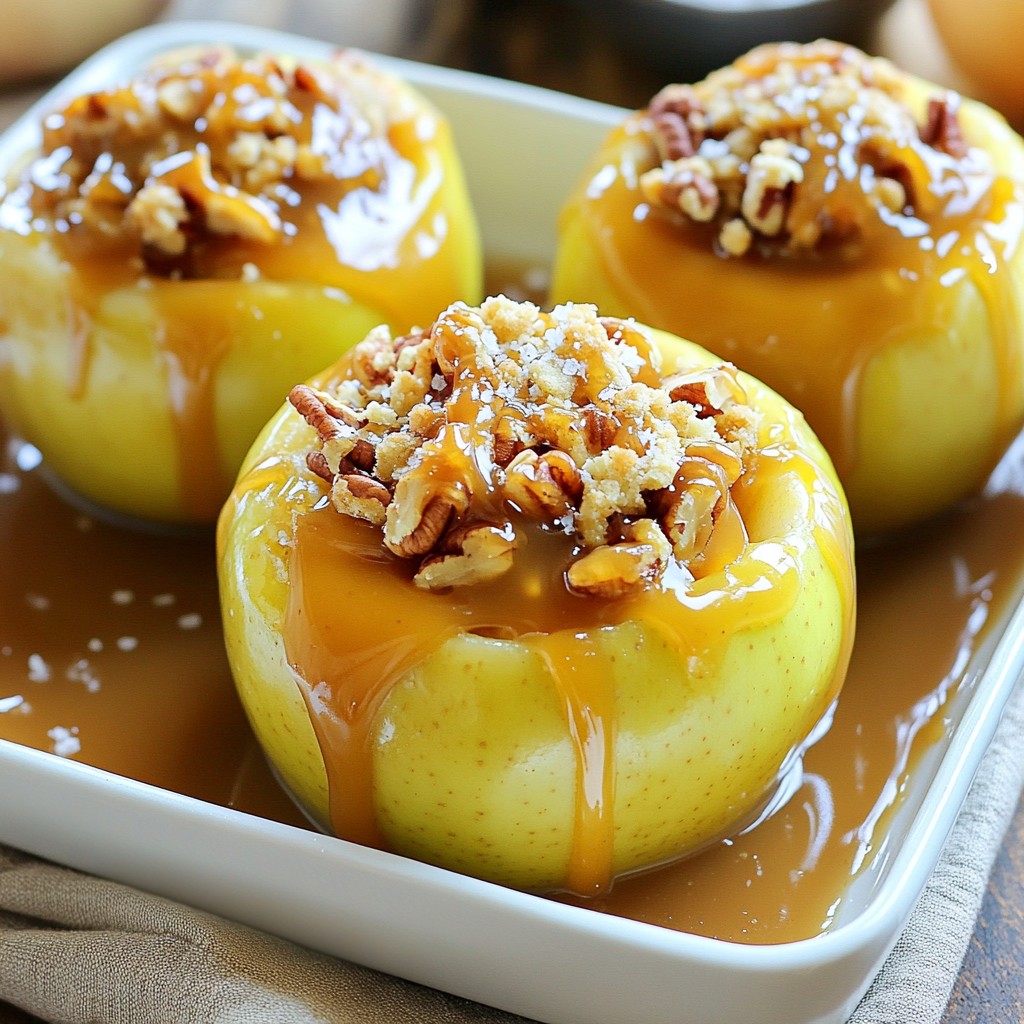
You can take your truffles to the next level by adding extras. Chopped nuts add a nice crunch. They also introduce a different texture to each bite. Sprinkles are another fun option. They can brighten up the truffles and make them festive. Drizzling caramel or chocolate sauce on top can add richness. This small step makes a big impact on taste and presentation.
Storage Information
Best Practices for Storing Truffles
To keep your strawberry cheesecake truffles fresh, store them in the fridge. Use an airtight container to prevent them from drying out. Layer the truffles with parchment paper to avoid sticking.
For longer storage, you can freeze the truffles. Place them on a baking sheet in a single layer. Once frozen, transfer the truffles to a freezer-safe bag. Remove as much air as possible before sealing the bag. This helps prevent freezer burn.
Shelf Life
In the fridge, the truffles last about five days. If stored properly, they can remain tasty and safe to eat. If you freeze them, they last up to three months.
Watch for signs of spoilage. If you see any mold or an off smell, do not eat them. A change in texture can also mean they are no longer good. Always check before enjoying your sweet treat!
FAQs
Can I make these truffles ahead of time?
Yes, you can make these truffles ahead of time. They store well in the fridge. Place them in an airtight container. You can keep them for up to one week. If you want to store them longer, freeze them. Just make sure to wrap each truffle in plastic wrap. Then, place them in a freezer-safe bag. They can last up to three months in the freezer.
How do I prevent the chocolate from seizing?
Chocolate can seize if it gets too hot or if water gets into it. To prevent this, make sure your bowl is dry. Avoid letting any steam or water touch the chocolate. Heat in short bursts of 30 seconds. Stir in between to keep the heat even. If it does seize, you can add a little coconut oil to help smooth it out.
What can I use instead of cream cheese?
If you want a dairy-free option, try using cashew cream. Soak cashews overnight, then blend them until creamy. You can also use vegan cream cheese. Both options give a nice flavor and texture. Just make sure the consistency is similar to cream cheese for best results.
How can I enhance the strawberry flavor?
To boost strawberry flavor, use fresh strawberries when possible. You can also add a splash of strawberry extract. Another tip is to fold in some finely chopped strawberries for extra bits. This adds texture and bursts of flavor.
Are these truffles suitable for special diets?
Yes, you can adapt these truffles for special diets. Use gluten-free graham crackers to make them gluten-free. For a vegan version, swap cream cheese for a plant-based option. Check the chocolate you use as well; some brands are dairy-free. Always read labels to ensure they meet your dietary needs.
You now have a tasty way to make strawberry truffles. We covered ingredients, tips, and storage ideas. Remember, chilling is key for perfect texture. You can also switch flavors and coatings for fun variations. Follow these steps for delicious results. Enjoy your creations with friends and family. The joy of making treats brings happiness, so get started toda