Get ready to wow your guests with a beautiful Christmas Red Velvet Cake Roll! This delightful holiday treat combines rich red velvet flavor with creamy filling, perfect for any festive table. I’ll guide you through easy steps to create this stunning dessert, from gathering your ingredients to decorating it just right. Dive into this holiday baking adventure, and let’s make your Christmas celebrations extra special!
Why I Love This Recipe
- Festive Flavor: This cake roll combines the rich taste of red velvet with a delightful cream cheese filling, making it perfect for holiday celebrations.
- Beautiful Presentation: The vibrant red color and the swirl of cream cheese create an eye-catching dessert that impresses guests.
- Easy to Make: With straightforward steps, even novice bakers can achieve success with this recipe, making it accessible for everyone.
- Customizable Garnish: Add your favorite toppings, like crushed candy canes or a dusting of powdered sugar, to personalize this festive treat.
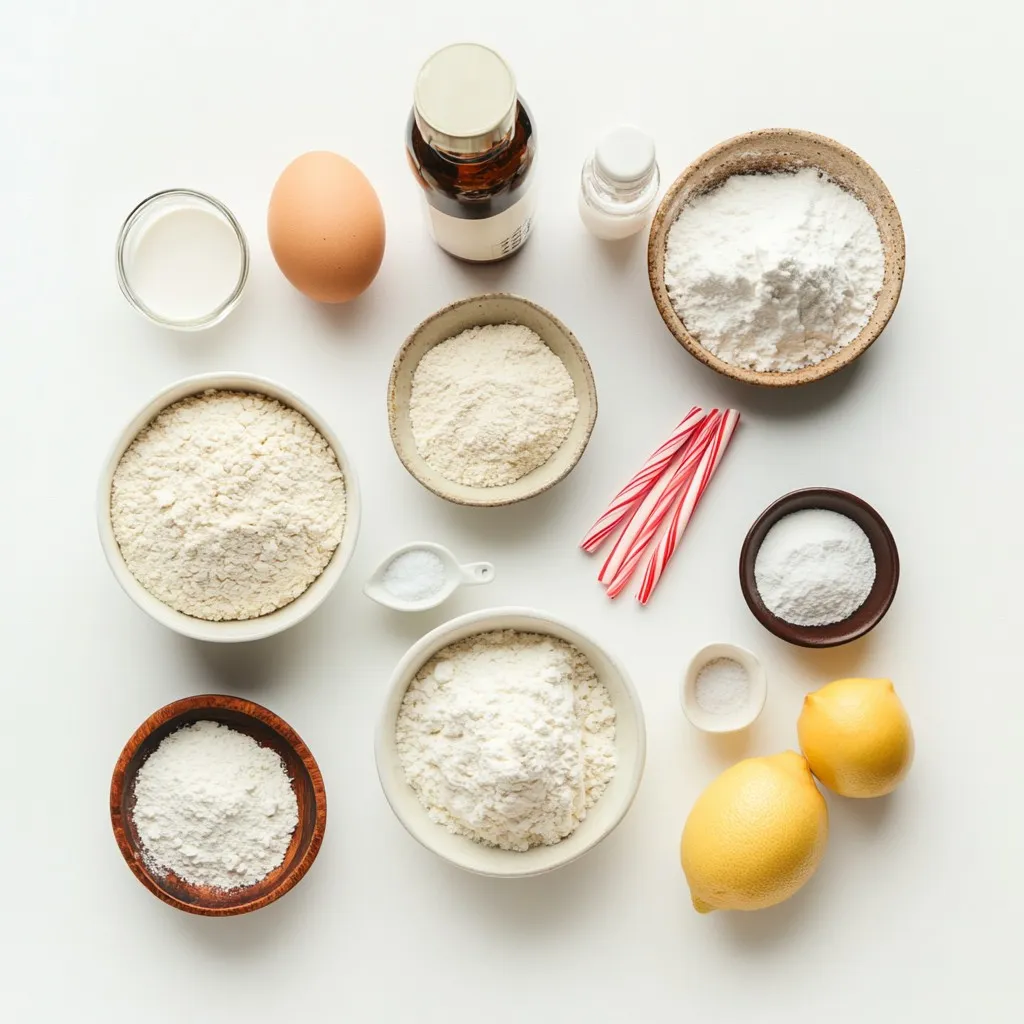
Ingredients
Dry Ingredients
– 1 cup all-purpose flour
– 1 cup granulated sugar
– 1/2 teaspoon baking powder
– 1/2 teaspoon baking soda
– 1/2 teaspoon salt
– 1/2 teaspoon cocoa powder
The dry ingredients create the base for our cake. The flour gives it structure. Sugar adds sweetness and moisture. Baking powder and baking soda help it rise. Cocoa powder gives that rich, dark color.
Wet Ingredients
– 2 large eggs
– 1/2 cup vegetable oil
– 1/2 cup buttermilk, at room temperature
– 1 tablespoon red food coloring
– 1 teaspoon vanilla extract
The wet ingredients bring flavor and moisture. Eggs bind everything together. Vegetable oil keeps the cake moist. Buttermilk adds a slight tang. Red food coloring makes it festive and bright. Vanilla extract enhances the overall taste.
Cream Cheese Filling
– 1 cup cream cheese, softened
– 1/2 cup powdered sugar
– 1 teaspoon lemon juice
– 1 teaspoon vanilla extract (for filling)
This filling is creamy and sweet. Cream cheese gives it a rich texture. Powdered sugar sweetens it up nicely. Lemon juice adds a bit of zing. The extra vanilla extract rounds out the flavor.
Optional Garnish
– Crushed candy canes
Crushed candy canes make it festive. They add a nice crunch and flavor. You can sprinkle them on top for a holiday touch.
Step-by-Step Instructions
Preparing the Cake Batter
1. First, preheat your oven to 350°F (175°C). Get a 15×10-inch baking pan ready. Line it with parchment paper, leaving some overhang. This helps lift the cake out later. Lightly grease the parchment to stop sticking.
2. In a large bowl, whisk together these dry ingredients:
– 1 cup all-purpose flour
– 1 cup granulated sugar
– 1/2 teaspoon baking powder
– 1/2 teaspoon baking soda
– 1/2 teaspoon salt
– 1/2 teaspoon cocoa powder
3. In another bowl, combine these wet ingredients:
– 2 large eggs
– 1/2 cup vegetable oil
– 1/2 cup buttermilk, at room temperature
– 1 tablespoon red food coloring
– 1 teaspoon vanilla extract
Whisk them until smooth.
Baking the Cake
4. Gradually add the dry mix to the wet mix. Stir gently until just combined. It’s okay if a few lumps remain; do not overmix.
5. Pour the vibrant red batter into the prepared pan. Spread it evenly with a spatula. Bake for 15-20 minutes. Check with a toothpick. It should come out clean.
Rolling the Cake
6. While the cake bakes, prepare a clean kitchen towel. Dust it generously with powdered sugar. This will stop the cake from sticking.
7. After baking, remove the cake from the oven. While warm, invert it onto the prepared towel. Carefully peel off the parchment paper.
8. Start rolling the cake from one end, using the towel. Create a tight spiral. Let it cool completely in this shape for about 1 hour.
Making the Filling and Assembling
9. While the cake cools, make the cream cheese filling. In a bowl, beat together:
– 1 cup cream cheese, softened
– 1/2 cup powdered sugar
– 1 teaspoon lemon juice
– 1 teaspoon vanilla extract
Beat until smooth and creamy.
10. Once the cake cools, carefully unroll it from the towel. Spread the cream cheese filling evenly over the cake, leaving a 1/2-inch border around the edges.
11. Slowly roll the cake back up without the towel. Make sure it holds its shape. Place it seam-side down on a serving platter.
12. For a festive touch, sprinkle crushed candy canes on top or dust with powdered sugar for a snowy look.
Tips & Tricks
Perfecting the Cake Roll
To get the best red velvet cake roll, you must avoid overmixing. When you mix the dry and wet ingredients, do it gently. A few lumps in the batter are okay. This keeps your cake light and fluffy.
Next, focus on the rolling technique. Once the cake is baked, you will need a clean kitchen towel dusted with powdered sugar. Invert the cake onto this towel while warm. Start rolling from one end and use the towel to help. This shape keeps the cake tight as it cools.
Storage Tips
For leftovers, wrap the cake roll in plastic wrap. This helps keep it fresh. Store it in the fridge for up to three days. If you want to keep it longer, freezing is a great option.
To freeze, wrap the cake roll tightly in plastic wrap and then in foil. It can last up to three months in the freezer. When ready to eat, thaw it in the fridge overnight.
Decorating Ideas
For garnishes, you can use crushed candy canes for a festive touch. They add a nice crunch and a pop of color.
If you want a classic look, dust the top with powdered sugar. It gives a snowy effect that suits the season well. You can also add fresh berries for a splash of color and flavor.
Pro Tips
- Use Fresh Ingredients: Ensure your eggs and buttermilk are at room temperature for better incorporation into the batter, resulting in a lighter cake.
- Don’t Overbake: Keep a close eye on your cake while baking. Overbaking can lead to a dry cake, so remove it as soon as a toothpick comes out clean.
- Perfect Rolling Technique: When rolling the cake, do it while it’s warm and use a towel dusted with powdered sugar to prevent sticking and cracking.
- Chill the Filling: For a firmer cream cheese filling, consider chilling it for about 30 minutes before spreading it on the cake. This will make it easier to roll without oozing out.
Variations
Flavored Filling Options
You can change up the filling to make it even more fun. Here are two great ideas:
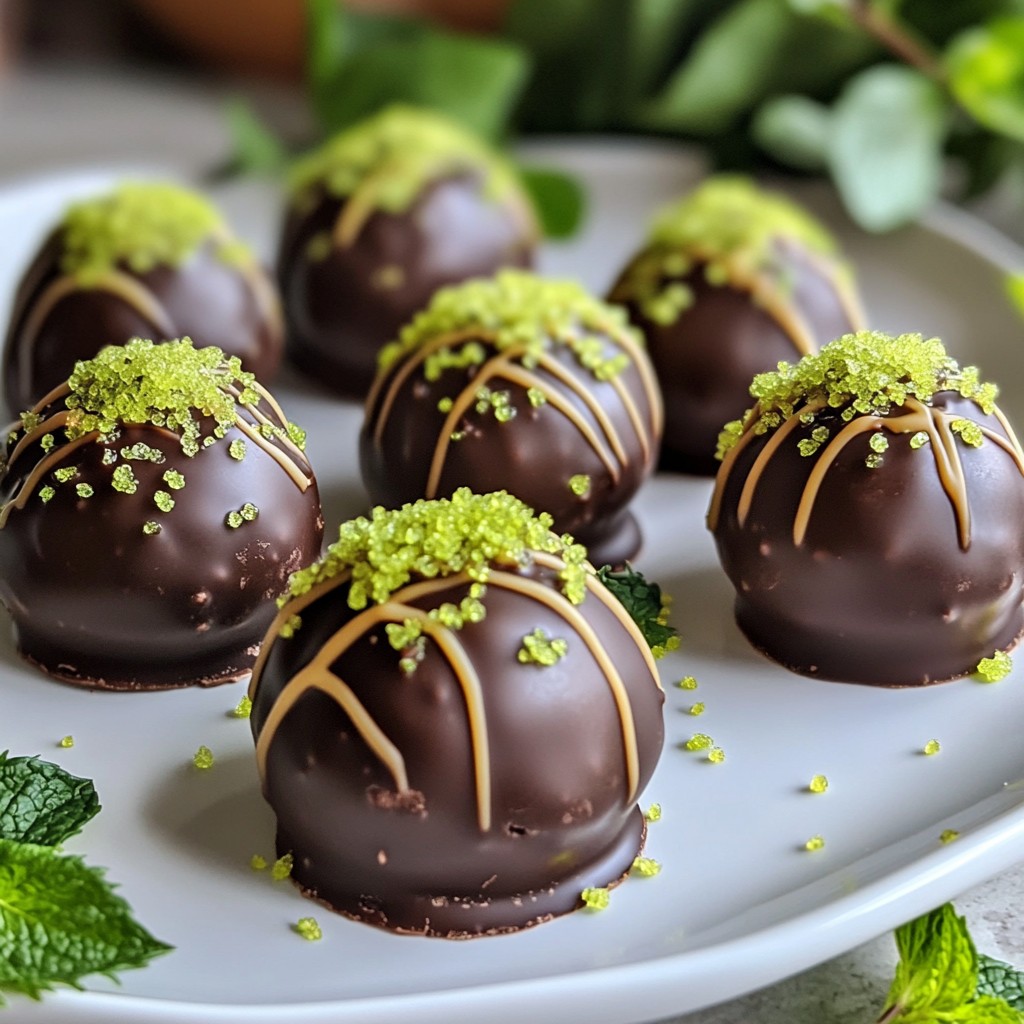
– Adding chocolate or peppermint: Mix cocoa powder into your cream cheese filling for a tasty chocolate twist. For a peppermint kick, add crushed candy canes or peppermint extract. This adds a nice flavor for the holidays.
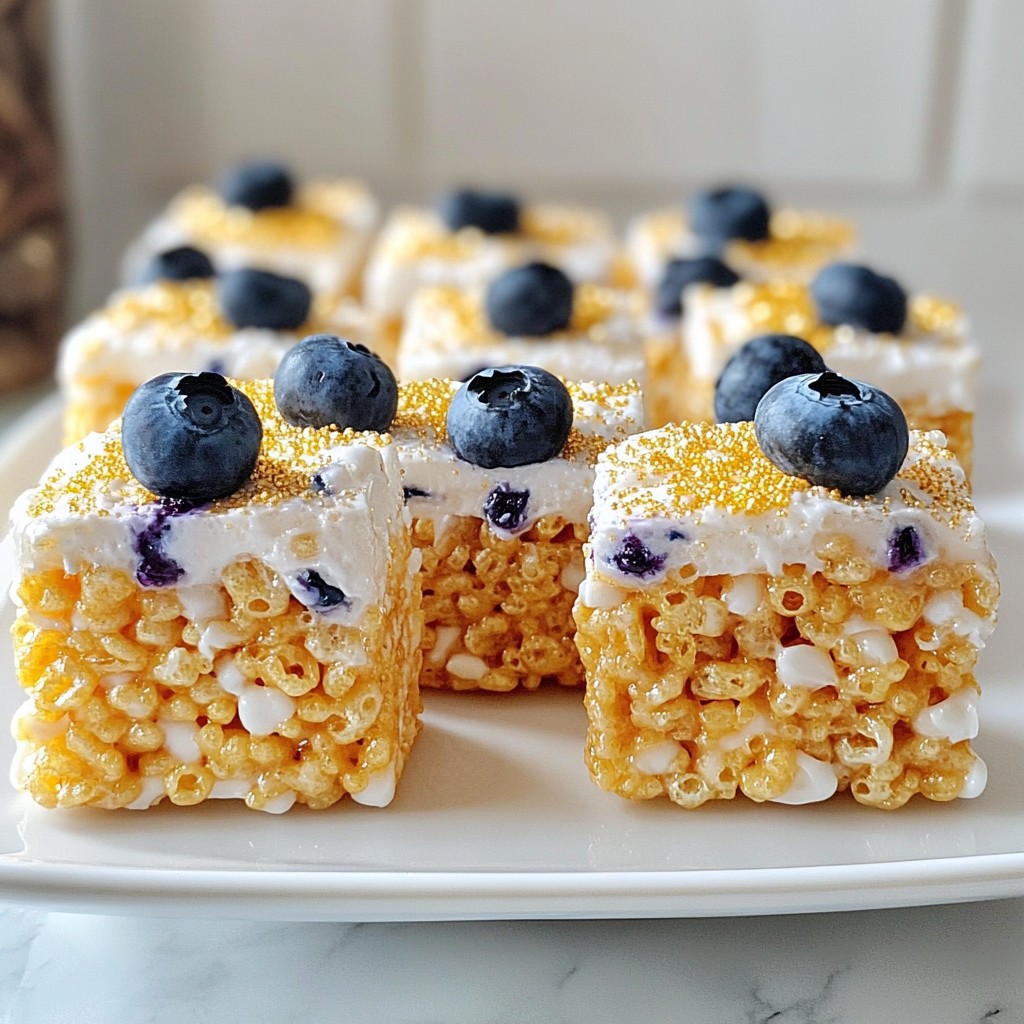
– Fruit-flavored cream cheese: Try mixing in fruit purees like raspberry or strawberry. This gives your filling a fresh taste and beautiful color. You can also use lemon or orange zest for a bright citrus flavor.
Dietary Adjustments
Want to make this treat fit your needs? Here are some simple swaps to try:
– Gluten-free alternative: Use a gluten-free flour blend instead of all-purpose flour. This makes the cake roll safe for those with gluten sensitivities. Just check that your other ingredients are gluten-free too.
– Lower sugar options: You can reduce sugar by using a sugar substitute. Just keep in mind that this may change the taste. You can also use less powdered sugar in the filling without losing too much sweetness.
Themes and Occasions
This cake roll is not just for Christmas! You can adapt it for any season or event:
– Adapting for other holidays: Change the food coloring to match the theme of the holiday. For Halloween, use orange food coloring; for Valentine’s Day, try pink. You can also use different fillings and toppings to match.
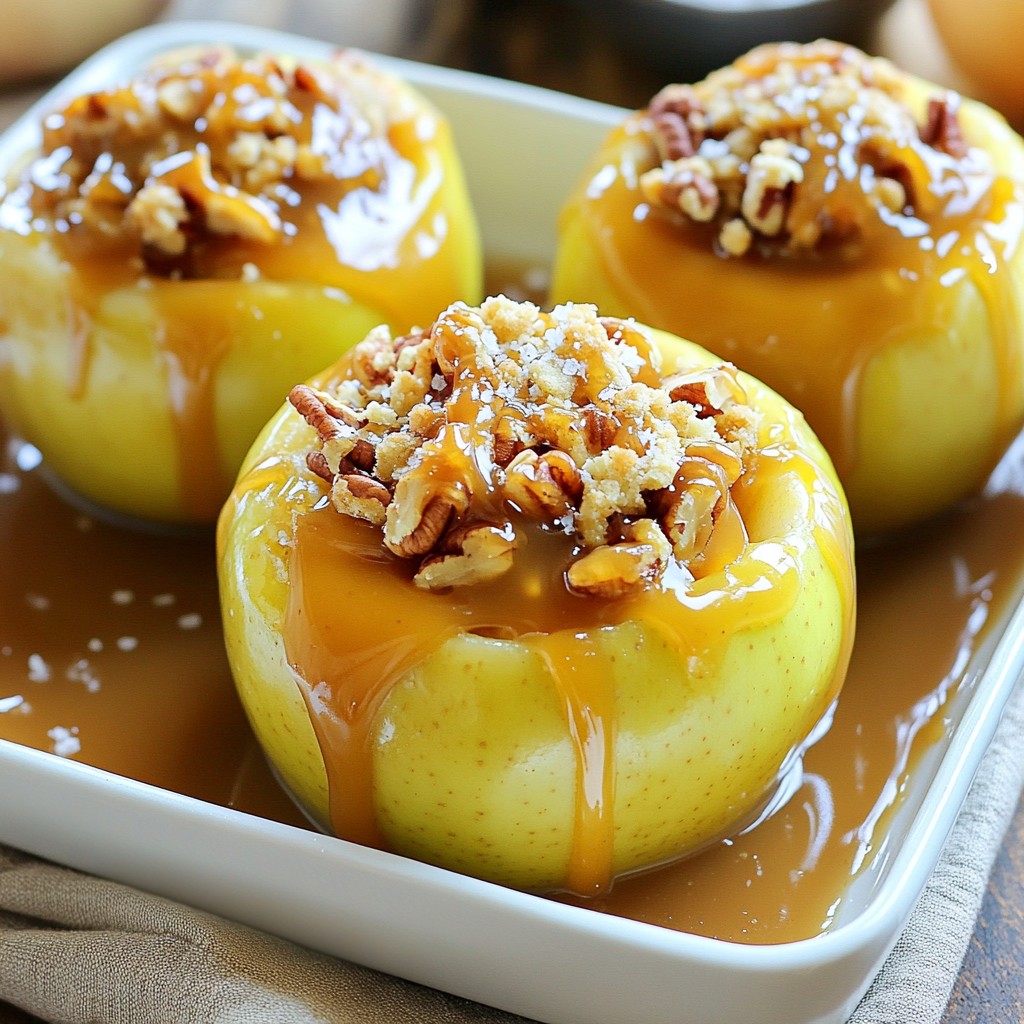
– Seasonal decorations and themes: Decorate with seasonal elements. Use fresh berries in spring, or edible flowers in summer. For fall, top with nuts or caramel. Get creative with how you present your cake roll!
Storage Info
Short-term Storage
To keep your Christmas Red Velvet Cake Roll fresh, refrigerate it. Wrap the cake roll tightly in plastic wrap. Place it in an airtight container for extra protection. This keeps the cake moist and safe from odors. I recommend using a container that will fit the roll without squishing it.
Long-term Storage
If you want to save your cake roll for later, freezing is a great option. First, wrap the cake roll in plastic wrap. Then, place it in a freezer-safe bag, squeezing out as much air as possible. This helps prevent freezer burn. You can freeze the cake roll for up to three months.
When you’re ready to enjoy it, take the roll out of the freezer. Let it thaw in the fridge for about 4 to 6 hours. After it’s soft, you can slice and serve it. This way, your tasty treat remains delicious.
Shelf Life
In the fridge, your cake roll lasts about 3 to 5 days. If you freeze it, it will stay good for about three months. Just remember to check for any signs of spoilage before serving. Enjoy your festive treat whenever you like!
FAQs
Common Questions
How do I prevent my cake roll from cracking?
To avoid cracks, follow these tips:
– Use a light hand when mixing. Overmixing can make the cake tough.
– Roll the cake while it is still warm. This helps it hold its shape.
– Dust your towel with powdered sugar to prevent sticking.
Can I make this recipe a day in advance?
Yes, you can make this cake roll a day early. Store it in the fridge. Wrap it tightly in plastic wrap. This keeps it fresh and moist until serving.
Buying Options
Where to order pre-made cake rolls?
You can find pre-made cake rolls at many local bakeries. Some grocery stores also carry them. Check larger chains for holiday options. Online delivery services often offer gourmet cake rolls too.
Best stores for holiday baking supplies
For holiday baking, I recommend these stores:
– Local grocery stores for fresh ingredients.
– Specialty baking shops for unique items.
– Big-box retailers for bulk supplies and tools.
Substitutions and Alternatives
Can I use different food coloring?
Yes! You can use any food coloring you like. Just remember, the color will change the look but not the taste. Gel coloring gives a richer hue.
What can I use instead of buttermilk?
If you don’t have buttermilk, mix regular milk with vinegar or lemon juice. Use one tablespoon of vinegar or lemon juice for each cup of milk. Let it sit for a few minutes to thicken.
This blog post covered all the important parts of making a delicious cake roll. We talked about the right ingredients, step-by-step instructions, and helpful tips for perfection. You learned how to store your cake roll and make exciting variations.
Baking can be fun and creative, so don’t hesitate to experiment. Enjoy making this treat for yourself or to share with friends! Keep practicing, and you’ll master the cake roll in no tim